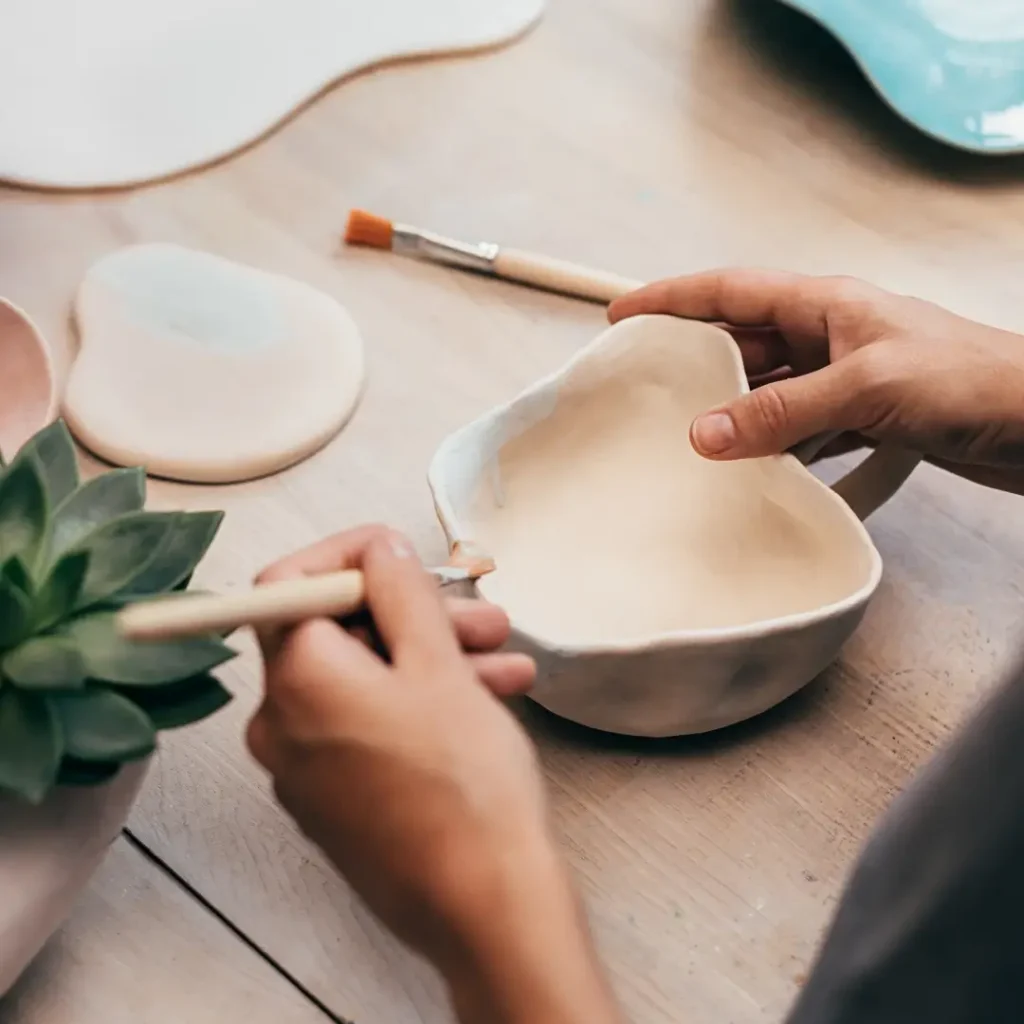
Ceramic painting: Learn the basics and know the materials
Ceramic painting has become an increasingly popular activity. It combines creativity with technique to transform common pieces into unique works of art.
In addition: It’s rewarding and it’s affordable.
In this article I will explain what you need to know so that you can start from scratch and step by step.
I explain which materials are suitable and the basic and advanced techniques to make your own ceramic pieces to paint and give them another beauty.

Materials Needed to Paint Ceramics
I will tell you what you will need and the differences between each material so that you can choose the right one.
Choose a type of ceramic to paint according to its difficulty.
Stoneware and porcelain:
Painting on these types of pieces is considered more advanced due to their fine texture and density, which require more precise and skillful paint application techniques.
These materials also need to be fired at higher temperatures, which implies a detailed knowledge of the firing processes, in addition to a special kiln, and knowledge of the types of paints and enamels used.
Because of these complexities and the higher cost of materials, painting on stoneware and porcelain is usually best suited for artists with experience in ceramics and pottery.
Bisque:
Also called bisque ceramics It has already been baked once and is the most common for painting. Its porous surface facilitates paint adhesion.
Painting on this already fired clay is ideal for beginners due to its porous texture, which facilitates adhesion and uniform distribution of the paint, minimizing common errors in the painting process. This feature makes it easier for novices to obtain satisfactory results from their first attempts.
Three beautiful bisque ceramic ideas for painting, by MagnateArtStudios, from Etsy
In addition, this ceramic bisque is compatible with a wide variety of paints, allowing you to experiment with different styles and techniques without the need to invest in specific or expensive materials.
The low cost and availability of this material make it an excellent choice for affordable option for those who are exploring ceramic painting for the first time. It allows them to develop skills and confidence before moving on to more complex techniques.
It is also recommended due to the lower complexity of the firing process in comparison with materials such as ceramic stoneware or the porcelain.
Paint and Brush Options
- Acrylic paints: Easy to use, ideal for beginners.
- Ceramic Glazes: They require firing in a ceramic kiln and offer long lasting finishes.
- Dry Rope Paints: Used for specific techniques such as dry rope.
- Fine Tip Brushes: For details and fine lines.
- Flat Brushes: To cover large areas.
- Round Brushes: For strokes and soft lines.
Utensils for decorating and painting your pieces, by TopCraftsDIY, from Etsy.
Additional Tools and their Use:
- Sponges: Useful for creating textures and gradients.
- Varnishes: Protect the paint and add shine.
- Ceramic Pencils: They allow sketching on ceramics before painting.
- Stencils and Adhesive Tapes: To create geometric designs or precise patterns.
Selecting quality materials will ensure not only better results in your ceramic painting projects, but also a more pleasurable and less frustrating experience. Experimenting with different types of paints, brushes and additional tools will help you discover your unique style and express your creativity to the fullest.
Starting to paint
Ceramic Surface Preparation
Before beginning, it is crucial to properly prepare the surface to ensure that the paint adheres properly and the finish is of the highest possible quality.
The first step in this preparation is cleaning. The ceramic should be free of dust, grease and any residue that may interfere with the paint. This can be accomplished with a soft, slightly damp cloth.
If you were to use a type of ceramic such as stoneware, a primer or base would be needed.
However, in the case of bisque-fired ceramics, this step may not be necessary, since its porous surface is already ideal for the adhesion of most paints.
Although, in certain cases, a light coat of primer can help to highlight colors and facilitate the application of more complex paint layers. Careful surface preparation is a fundamental step in achieving professional results when painting ceramics.
Painting bisque ceramics: A good way to start.
Some basic techniques and tricks:
- Soft Brushstrokes: Ideal for covering large areas with a uniform color. It is done with flat and soft brushes.
- Detailed Brushstrokes: Using fine-tipped brushes, this technique is perfect for adding details and fine lines.
- Sponges: Create textured effects and help blend colors smoothly on the surface.
- Stitch Tools: Used to create stitch patterns and effects.
- Texturing with Tools: Use of objects such as combs or stencils to create patterns.
- Paint Layers: Application of several layers of paint to create depth and texture.
7 advanced painting and decoration techniques:
Underglaze (for before glazing):
It involves applying special pigments on the bisque surface. They are available in a wide range of colors and can be applied with brushes, sponges or even through airbrushing techniques. Once applied, they are covered with a clear glaze and baked, resulting in vibrant, long-lasting colors.
Sgraffito or sgraffito:
Subsequent to the previous form of decoration, a portion of this layer is scraped away to reveal the color of the cake underneath. This allows you to create contrasting designs and interesting textures.
Decorative Enamels:
Decorative glazes are applied over fired ceramics to add color and luster. Glazes are available in a variety of colors and finishes, from matte to glossy. They can be mixed and layered to create unique effects.

Underglaze paints prepared for painting clay or bisque pottery, there is a wide variety of materials on portals such as Amazon.
Ceramic Decals:
Decals are special decals designed for ceramics. They are applied to the bisque-fired surface and then fired, fusing with the ceramic and creating a permanent design. This technique is excellent for detailed and precise designs.
Mishima:
This Japanese technique involves embedding underglaze or glaze in lines or designs etched into the fired ceramic. The surface is then wiped clean so that the color remains only on the engravings, creating a raised design effect.
Painting with Oxides:
Using metal oxides mixed with a liquid medium, you can paint on fired ceramics to create unique color and texture effects. Common oxides include iron, copper and manganese, each providing a distinct color and character.
Spill and Drip Techniques:
It consists of pouring or dripping different colored glazes onto the fired ceramic. By mixing and flowing, the glazes create organic and abstract patterns.
Each of these techniques can be explored and combined to create unique and expressive ceramic pieces. Experimenting with different methods and colors is a great way to discover your personal style in ceramic painting.
Final tips
In the ceramic painting process, initial planning plays a crucial role. It starts with sketching the design and carefully selecting colors. This stage is fundamental to visualizing the final result and ensuring that everything fits together harmoniously.
Sometimes, depending on the project, it is advisable to apply a base coat. This serves as a uniform canvas that enhances the colors and details of the subsequent design.
During painting, it is advisable to approach the work in sections. This prevents the piece from becoming saturated and allows attention to be focused on the details, thus ensuring greater precision in the work.
It is also important to take regular breaks. These breaks are opportunities to review progress from different perspectives and make adjustments if necessary.
Finally, drying the piece is an essential step. The ceramic must be allowed to dry completely before any further processing, thus ensuring durability and quality of the finish.
This step-by-step approach not only improves the quality of the work, but also makes it more enjoyable and more rewarding, since in addition to creating our own decorated pieces we can greatly enjoy the process of painting ceramics.
We hope you liked this post. It will help us if you share it on social networks 👍.
Note: This article contains links that lead to the artists’ stores on other sales sites than Ceramicartis. If you make a purchase there, we will receive a small commission that will help us to continue with the website and in turn to continue to support your work. This does not increase the selling price of the artist..
Latest publications:


