How to Use Colored Slip for Pottery
Colored slip is a liquid mixture of clay and coloring agents used in pottery to decorate and add vibrant hues. This technique opens up endless possibilities for personalizing your ceramic pieces with unique patterns and designs.
- What is Colored Slip?
- Benefits of Using Slip with Different Colors in Pottery
- Common Techniques for Applying Colored Barbotine
- Slip Trailing: A Step-by-Step Guide
- Creating Patterns with Colored Slip
- Tips for Achieving Vibrant Colors
- Top Products for Colored Slips
- How to Make Your Own Colored Slip
- Frequently Asked Questions
What is Colored Slip?
Colored slip is a versatile material in pottery, consisting of a liquid blend of clay and pigments. It’s primarily used to decorate and add vibrant color to ceramic pieces. Applied to the surface of wet or leather-hard clay, colored slip allows potters to create intricate designs and patterns before the firing process. This technique not only enhances the piece aesthetically but also adds a layer of personalization and artistry.
Colored slip can be used in various ways, such as slip trailing, sgraffito, or even painting on clay. Each method provides unique textures and visual effects. As we delve deeper into the benefits of using colored slip and explore common techniques, you’ll find that this material opens up endless possibilities for creative expression in pottery. Stay tuned to discover more about specific methods and tips for achieving the most vibrant results.
Benefits of Using Slip with Different Colors in Pottery
Colored barbotine offers a myriad of benefits for both novice and experienced potters. First and foremost, it provides an easy and accessible way to introduce color and intricate designs to your pottery without requiring advanced glazing techniques. This makes it ideal for those looking to experiment and expand their artistic repertoire.
Another significant advantage is its ability to create textural contrasts. Depending on the application method, colored slip can add depth and dimension to your pieces, making them visually appealing and unique. Techniques like slip trailing and sgraffito (which we’ll cover later) offer various ways to achieve these effects.
Moreover, colored slip is highly versatile. It can be applied at different stages of the clay’s dryness, from wet to leather-hard, allowing for flexibility in your creative process. This versatility extends to the firing ranges as well, making it suitable for various types of kilns and clay bodies.
As we move forward, you’ll discover how colored slip can enhance the overall quality and creativity of your pottery projects. Stay tuned to learn about common techniques and step-by-step guides that will help you make the most of this wonderful material.

Common Techniques for Applying Colored Barbotine
Applying slips of different colors in pottery can be done through various techniques, each yielding unique and captivating results. Here are some of the most common methods:
- Slip Trailing: This involves using a bottle with a narrow nozzle to apply fine lines of slip onto the clay surface. Slip trailing allows for precise control and the creation of intricate designs. Whether you’re outlining patterns or adding delicate details, this technique is both versatile and accessible.
- Sgraffito: Sgraffito is achieved by applying a layer of colored slip over a leather-hard clay surface and then carving away parts of the slip to reveal the clay body beneath. This method produces sharp, contrasting designs and can be used to create detailed imagery or abstract patterns.
- Brushing: Simply using a brush to apply slip to the clay surface, this technique can cover large areas or add painterly effects. Brushing is ideal for those wanting to blend colors or create gradients.
- Marbling: By layering different colored slips and manipulating them with tools, you can create a marbled effect on the clay. This technique adds a dynamic, fluid appearance to your pottery.
These techniques not only enhance the visual appeal of your ceramic pieces but also offer endless possibilities for creative expression. As we delve into more detailed guides, you’ll learn how to master these methods, starting with a step-by-step approach to slip trailing.
Slip Trailing: A Step-by-Step Guide
Slip trailing is a popular method for applying colored slip for pottery, allowing for intricate designs and detailed patterns. Here’s a step-by-step guide to mastering this technique:
- Gather Your Materials: You’ll need a slip trailing bottle (commonly known as a slip trailer), your chosen colored slip, and of course, a piece of clay that’s at the leather-hard stage.
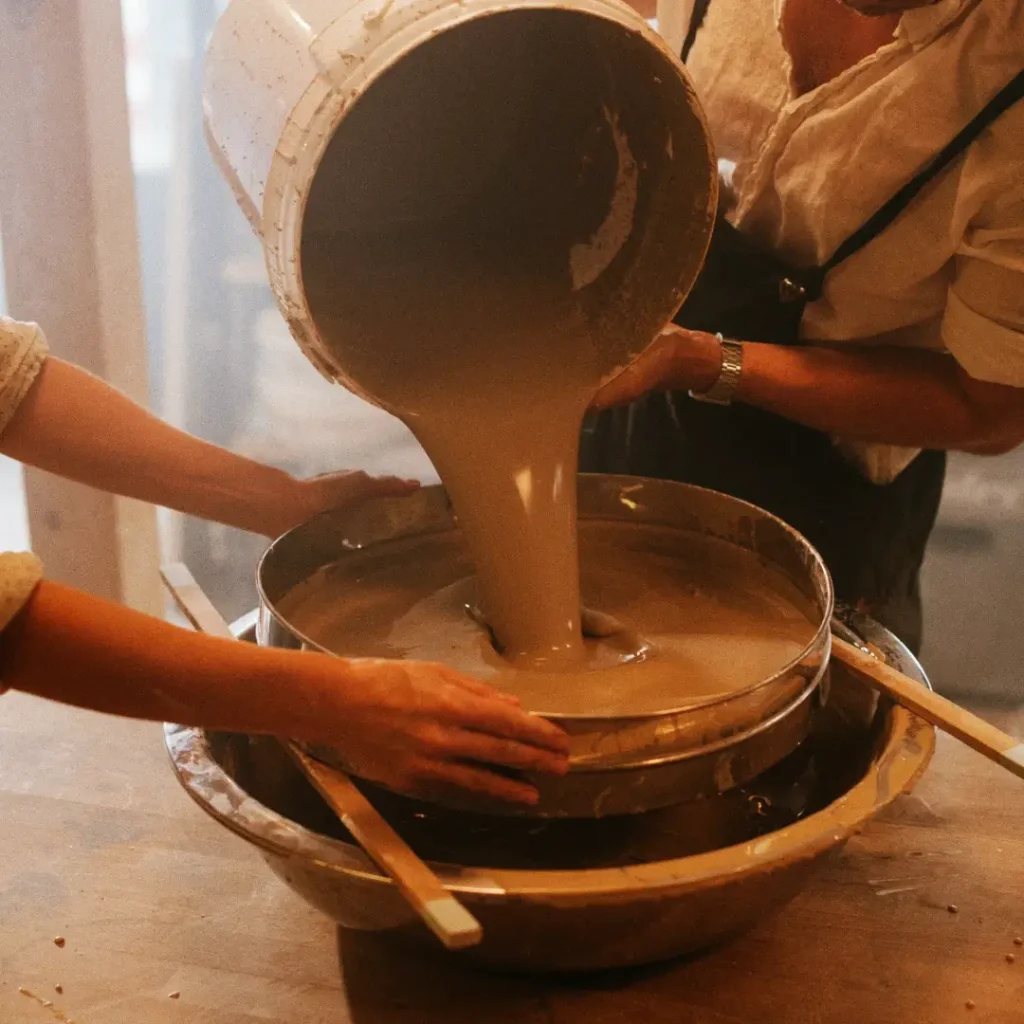
- Prepare the Slip: Ensure your colored slip is smooth and free of lumps. If necessary, sieve the slip to achieve a consistent texture.
- Fill the Slip Trailer: Carefully pour the slip into the slip trailer. Adjust the nozzle tip to your preferred size for more control over the application.
- Practice on a Test Piece: Before working on your final piece, practice your design on a scrap piece of clay. This step allows you to get a feel for the flow and pressure needed.
- Apply the Slip: Holding the slip trailer like a pen, gently squeeze the bottle and apply the slip to your pottery. Create lines, patterns, and intricate designs as desired. Consistency is key, so maintain a steady hand.
- Let It Dry: Allow the slip to dry slightly before continuing with additional layers or details. This will prevent smudging and ensure each layer adheres properly.
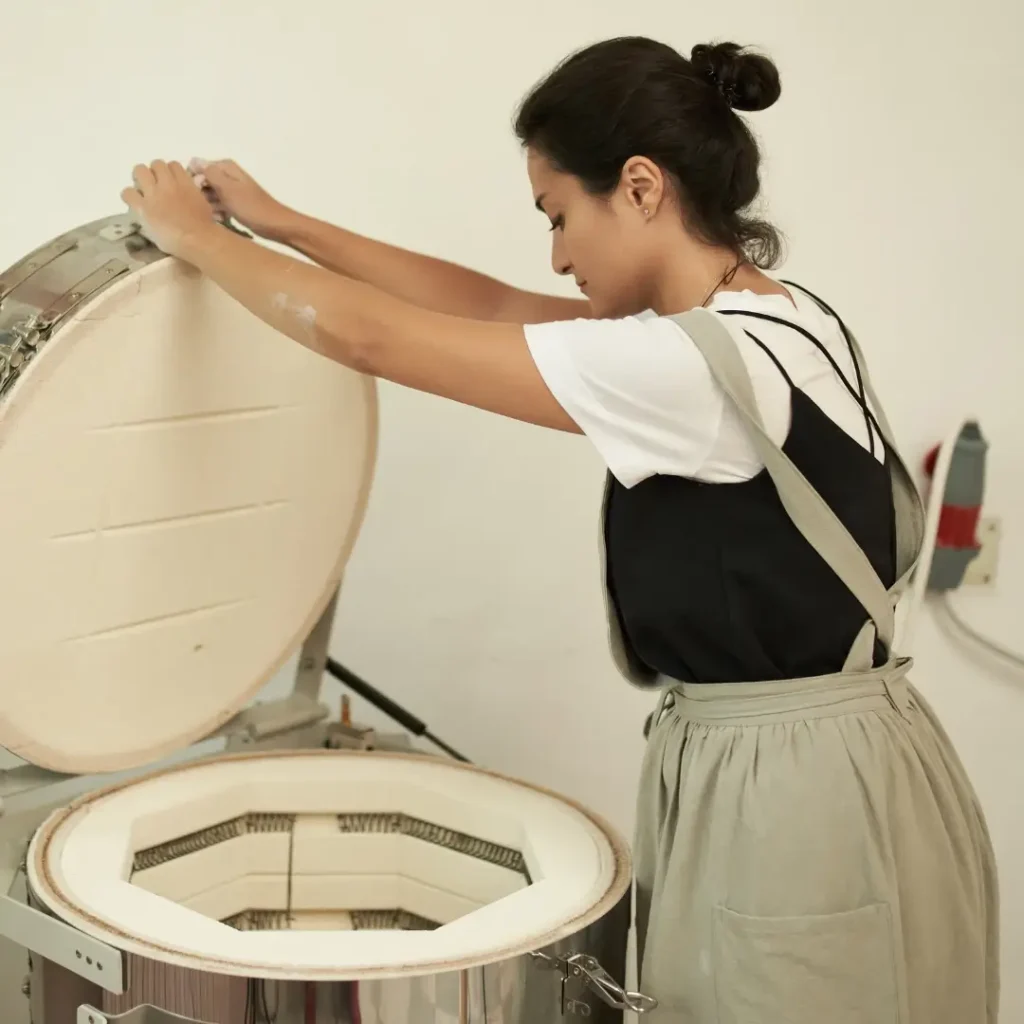
- Finish and Fire: Once your design is complete and the slip has dried, your piece can be bisque fired. This will set the slip and prepare your pottery for glazing.
Slip trailing opens up a world of creative possibilities, allowing you to bring your unique artistic vision to life. As you explore creating patterns with colored barbotine in the next section, you’ll discover even more ways to enhance your pottery with this versatile technique.

Creating Patterns with Colored Slip
One of the most exciting aspects of using colored slip for pottery is the opportunity to create intricate and expressive patterns. Here are a few techniques to help you get started:
- Layering Techniques: Apply multiple layers of colored slip in different shades. Once the layers are semi-dry, scrape away sections to reveal contrasting colors beneath. This technique, known as sgraffito, creates striking and detailed designs.
- Stencil Application: Use stencils to apply colored slip in specific patterns on your pottery. Simply place the stencil on the clay surface and brush or sponge the slip over it. When you remove the stencil, you’ll have a clean, sharp design.
- Marbling Effects: Mix various colored slips together to create a marbled effect. Pour or brush these slips onto the clay and use tools or your fingers to swirl the colors, creating a dynamic, flowing pattern.
- Resist Techniques: Apply a resist material, such as wax or latex, to the areas you want to keep free of slip. You can then apply colored slip over the entire surface. Once the slip is dry, remove the resist to reveal the pattern.
Experimenting with these patterns can transform a simple piece of pottery into a work of art. Each technique offers a unique way to express your creativity and bring your designs to life. Up next, we’ll explore additional tips for achieving vibrant colors with colored slip, so stay tuned!
Tips for Achieving Vibrant Colors
When working with colored slip for pottery, achieving vibrant and long-lasting colors can elevate your creations. Here are some tips to help you get the most out of your colored slips:
- Choose High-Quality Pigments: The quality of your pigments directly impacts the vibrancy of your colors. Opt for professional-grade pigments specifically designed for ceramics to ensure rich, intense results.
- Consistency Matters: Ensure that your slip is well-mixed and free of lumps. A consistent texture allows for even application, which is crucial for maintaining color uniformity across your piece.
- Test Firing: Conduct test firings to see how the colors react in your kiln. Different kilns and firing temperatures can affect the final hue, so it’s essential to understand how your specific setup influences the results.
- Layering Techniques: Experiment with applying multiple layers of slip. Thicker applications can produce more saturated colors, but be mindful of cracking and drying times.
- Proper Drying: Allow each layer of slip to dry adequately before adding another. This prevents colors from blending unintentionally and maintains the crispness of your design.
- Use of Underglazes: Consider combining colored slip with underglazes for enhanced vibrancy. Underglazes can amplify the brightness of your colored slips, particularly after the glaze firing.
Following these tips will help you achieve the vivid, striking colors that elevate your pottery work. As you experiment with different products and techniques, you’ll find the best combinations that suit your artistic vision. Up next, we’ll explore some of the top products for colored slip available on the market.
Top Products for Colored Slips
Choosing right can significantly enhance the quality and vibrancy of your creations. Here are some of the top products available for potters:
- Amaco Velvet Underglaze: Known for its brilliant colors and smooth application, Amaco Velvet Underglaze can be used with or without a top glaze. It’s versatile, durable, and suitable for a wide range of firing temperatures.
- Laguna Colored Slip: Laguna offers a variety of pre-mixed colored slips that boast consistent quality and vibrant results. They’re ready to use and perfect for various decorative techniques, including slip trailing and sgraffito.
- Speedball Earthenware Slip: Available in a range of colors, Speedball slips are easy to apply and produce sharp, consistent colors. These slips are ideal for low-fire ceramics and are particularly popular among art educators and hobbyists.
- Duncan Concepts Underglaze CN: Duncan Concepts offers a spectrum of bright, fade-resistant colors that can be used on greenware or bisque. They perform exceptionally well at mid-range and high-fire temperatures, providing flexibility in your firing processes.
- Coyote Underglaze: Coyote Underglazes are recognized for their rich hues and compatibility with multiple clay bodies. They maintain their vibrant colors even after multiple firings and are excellent for detailed decorative work.
Exploring these top products will help you find the perfect colored slip to suit your artistic needs. As you become more familiar with different options, you’ll understand what works best for your specific style and projects. Up next, learn how to make your own colored slip for pottery to further customize your creations.
How to Make Your Own Colored Slip
Creating your own colored slip for pottery can be a rewarding and cost-effective way to customize your designs. Here’s a simple guide to making your own colored slip:
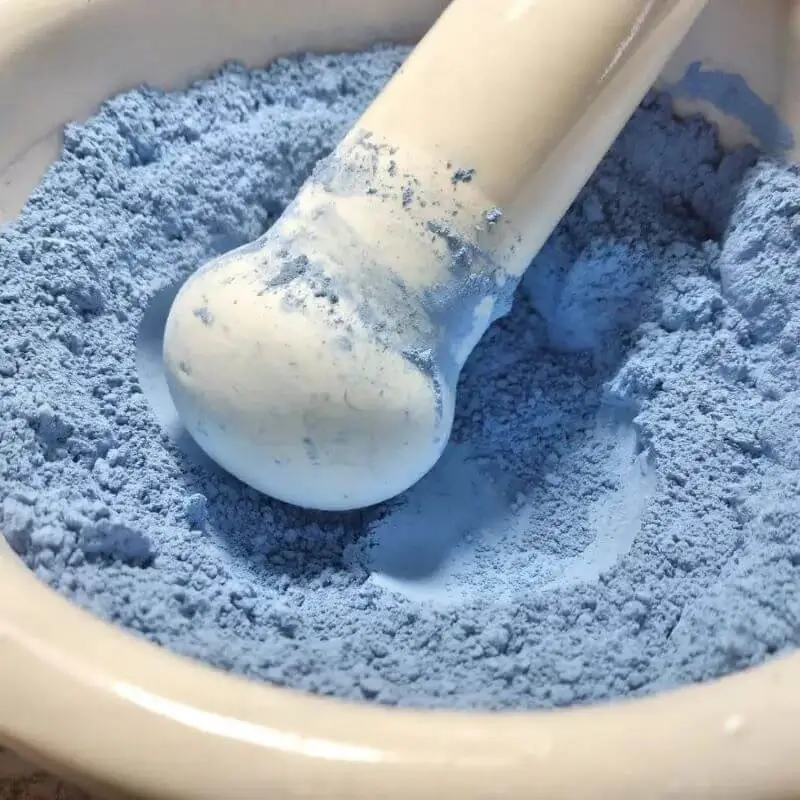
- Gather Materials: You’ll need powdered clay (or reclaim clay slop), water, and ceramic stains or oxides for coloring. A mixing container and a blender or mixing tool are also essential.
- Prepare the Base: If you’re using powdered clay, mix it with water to achieve a smooth, yogurt-like consistency. If reclaiming clay slop, ensure it’s sufficiently mixed and free of lumps.
- Add Colorants: Gradually mix in your chosen ceramic stains or oxides. Start with small amounts and mix thoroughly, testing the color intensity by applying small samples to a piece of clay. Adjust as needed until you reach the desired hue.
- Blend Thoroughly: Use a blender or mixing tool to ensure the colorant is evenly distributed throughout the slip. Consistency is key to avoid streaks and spots in your final application.
- Test and Adjust: Apply a small amount of the colored slip to a test piece of clay and let it dry. Fire the test piece at your typical firing temperature to see the true color result. Adjust the mixture if necessary by adding more stain or oxide for a richer color.
- Store Properly: Store your colored slip in an airtight container to prevent it from drying out. Label the container with the color and any specific ratios used for future reference.
By making your own colored slip, you gain greater flexibility and control over your designs. It allows you to experiment with different color combinations and achieve unique effects tailored to your artistic vision. Next, we’ll address some frequently asked questions to clear up any remaining doubts you might have about using colored slips in pottery.
Frequently Asked Questions
When exploring colored slip for pottery, it’s natural to have some questions. Here are answers to some of the most common queries:
- Can I use colored slip on any type of clay?
Yes, colored slip can be used on various types of clay, including earthenware, stoneware, and porcelain. It’s important to test compatibility, especially when firing at different temperatures. - At what stage should I apply colored slip?
Colored slip is typically applied to wet or leather-hard clay. This allows it to adhere properly and integrate seamlessly with the clay body. - Do I need to bisque fire pieces with colored slip before glazing?
Yes, it’s usually best to bisque fire pottery with colored slip before applying glaze. This ensures the slip and clay are properly bonded and ready for the glaze application. - Can I mix different colored slips?
Absolutely! Mixing different colored slips can create unique shades and effects. However, keep in mind the chemical composition of each slip to avoid unexpected results. - How do I achieve consistent color results with colored slip?
Consistency comes with practice. Using high-quality pigments, thoroughly mixing the slip, and testing your mix before large-scale application will help achieve uniform color results. - Is there a way to make colored slip more durable?
Using high-quality colorants and ensuring proper firing temperatures will enhance the durability of your colored slip. Applying a clear glaze over the slip can also protect it and add vibrancy. - What should I do if my colored slip cracks?
If your slip cracks, it might be applied too thickly or the clay dried too quickly. Adjusting the slip’s consistency and application thickness can help prevent cracking in the future.
Understanding these common queries will help you confidently work with colored slip and enhance your pottery skills. With these insights and the techniques covered in this article, you’re well on your way to creating stunning, colorful ceramic pieces.
Engobe: The ceramic technique that will give life to your pieces.
Colored Slip vs Underglaze: Understanding the Differences and Applications
