Colored Slip vs Underglaze: Understanding the Differences and Applications
Colored slips and underglazes are essential materials in pottery, each offering unique benefits for decoration and texture. While colored slips are clay-based and applied to wet or leather-hard clay, underglazes are more versatile and used on bisque-fired pieces. Dive into this article to uncover the distinct characteristics and applications of these two techniques, enhancing your pottery projects.
- What are Colored Slips and Underglazes?
- Main Differences Between Pigmented Slips and Underglazes
- How to Apply Colored Slip and Underglazes
- Applying Tinted Slips
- Applying Underglazes
- Advantages and Disadvantages of Using Decorative Slips
- Advantages and Disadvantages of Using Underglazes
- Best Practices for Combining Color Slips and Underglazes
- Creative Techniques with Tinted Slips and Underglazes
- Frequently Asked Questions About Colored Slips and Underglazes
- Can I mix colored slips and underglazes?
- Do I need to bisque-fire my pottery before applying underglazes?
- How do I prevent my colored slip from cracking?
- What is the best way to apply multiple layers of underglazes?
- Can I apply glaze over colored slip and underglaze?
- Are colored slips and underglazes food safe?
What are Colored Slips and Underglazes?
Colored slips and underglazes are fundamental materials in pottery used for decorating and finishing ceramic pieces. A colored slip is a liquid mixture of clay and water with added colorants, applied to the surface of wet or leather-hard clay. It allows potters to introduce texture and color before the piece is fired.
On the other hand, underglazes are formulated with frits and different colorants, making them more suitable for application on bisque-fired pottery. This gives them a versatility that slips do not have, allowing for multiple layers of decoration and detail work.
Understanding these materials is crucial for achieving the desired effects in your ceramic projects. In the upcoming sections, we will delve into the main differences between these two techniques and explore how to apply them effectively.
Main Differences Between Pigmented Slips and Underglazes
Understanding the differences between colored slips and underglazes is essential for any potter. Here are the key distinctions:
- Composition: Pigmented slips are primarily clay-based with added colorants, whereas underglazes contain less clay and include frits to create a smooth application.
- Application Stage: Slips with colour are typically applied to wet or leather-hard clay, allowing for intricate designs before the first firing. In contrast, underglazes are often used on bisque-fired pottery, providing more flexibility for detailed work post-firing.
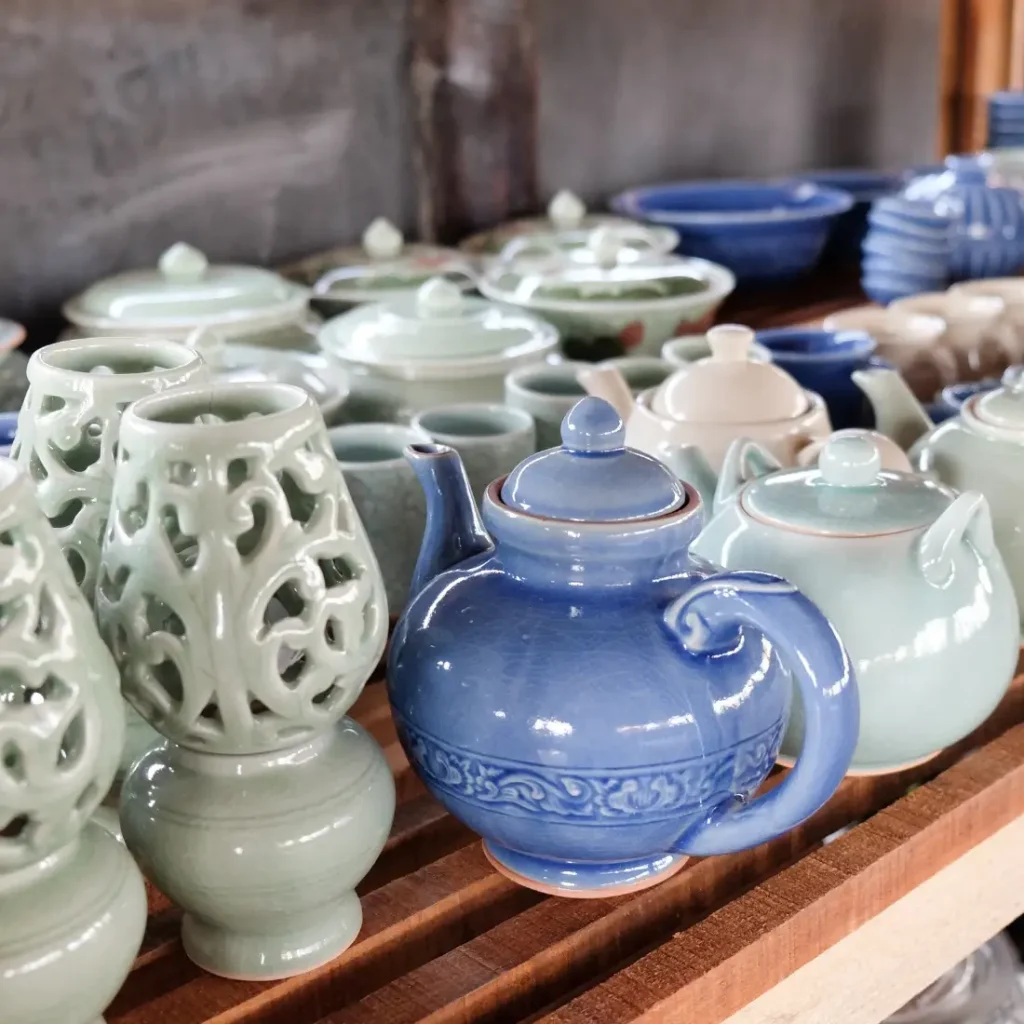
- Finish: Slips offer a more matt and raw texture after firing, while underglazes deliver a vibrant and refined finish when covered with a clear or transparent glaze.
- Durability: Because underglazes are usually sealed with a glaze, they tend to be more durable and resistant to wear compared to colored slips.
- Color Intensity: Underglazes generally produce more vivid colors and allow for multiple layers of decoration, making them ideal for complex designs.
These differences highlight how each technique can be best utilized in your pottery projects. In the next section, we will explore how to apply both pigmented slips and underglazes effectively to achieve your desired outcomes.
How to Apply Colored Slip and Underglazes
Applying colored slips and underglazes requires different techniques to achieve the best results in your pottery projects. Here are the steps to follow for each:
Applying Tinted Slips
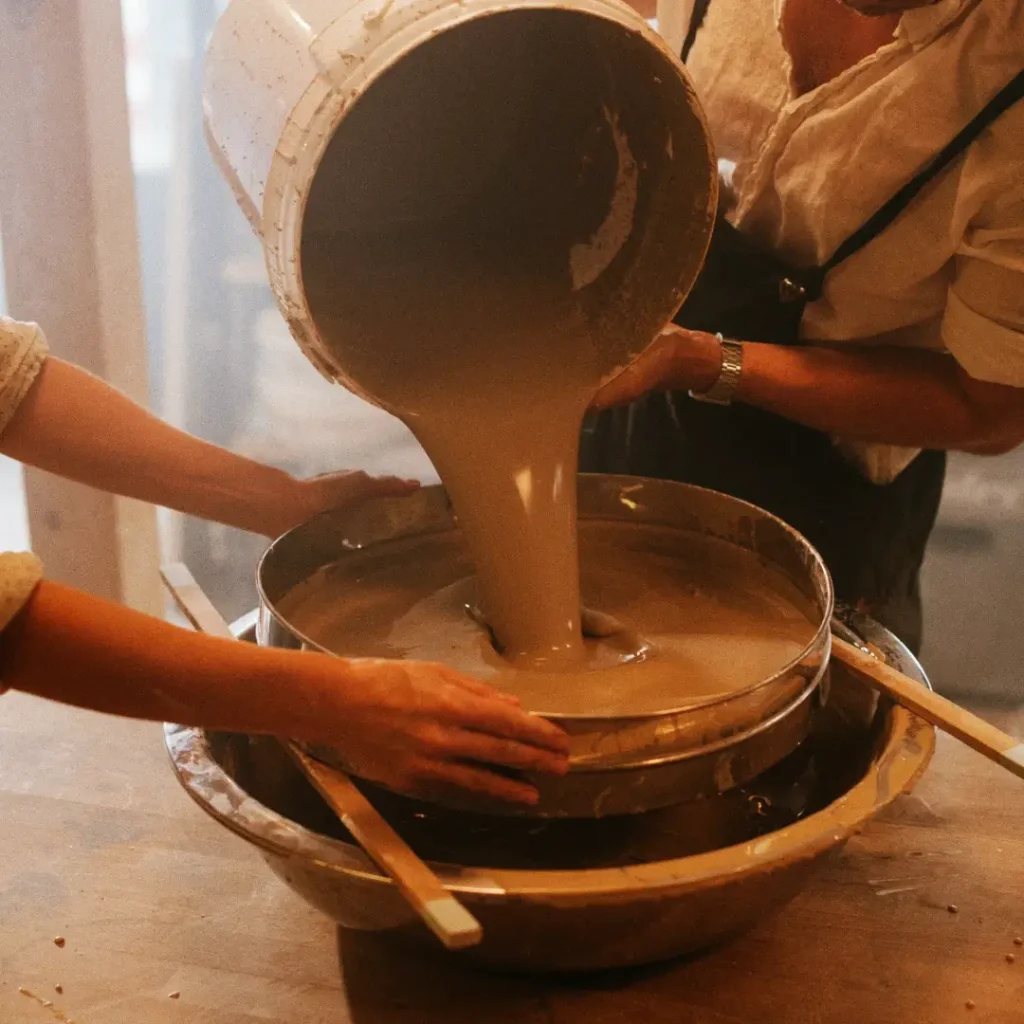
- Prepare Your Slip: Ensure the colored slip has a smooth, paint-like consistency. This involves mixing clay, water, and colorants thoroughly.
- Apply to Wet Clay: Tinted slips are best applied to wet or leather-hard clay. Use brushes, sponges, or spray techniques depending on your desired effect.
- Layering and Texturing: Add multiple layers for deeper colors and experiment with texturing tools to create intricate designs.
- Dry and Fire: Allow the piece to dry completely before firing it in the kiln for the first time.
Applying Underglazes
- Prepare Your Underglaze: Mix the underglaze well to ensure a consistent color. It should have a smooth, creamy texture.
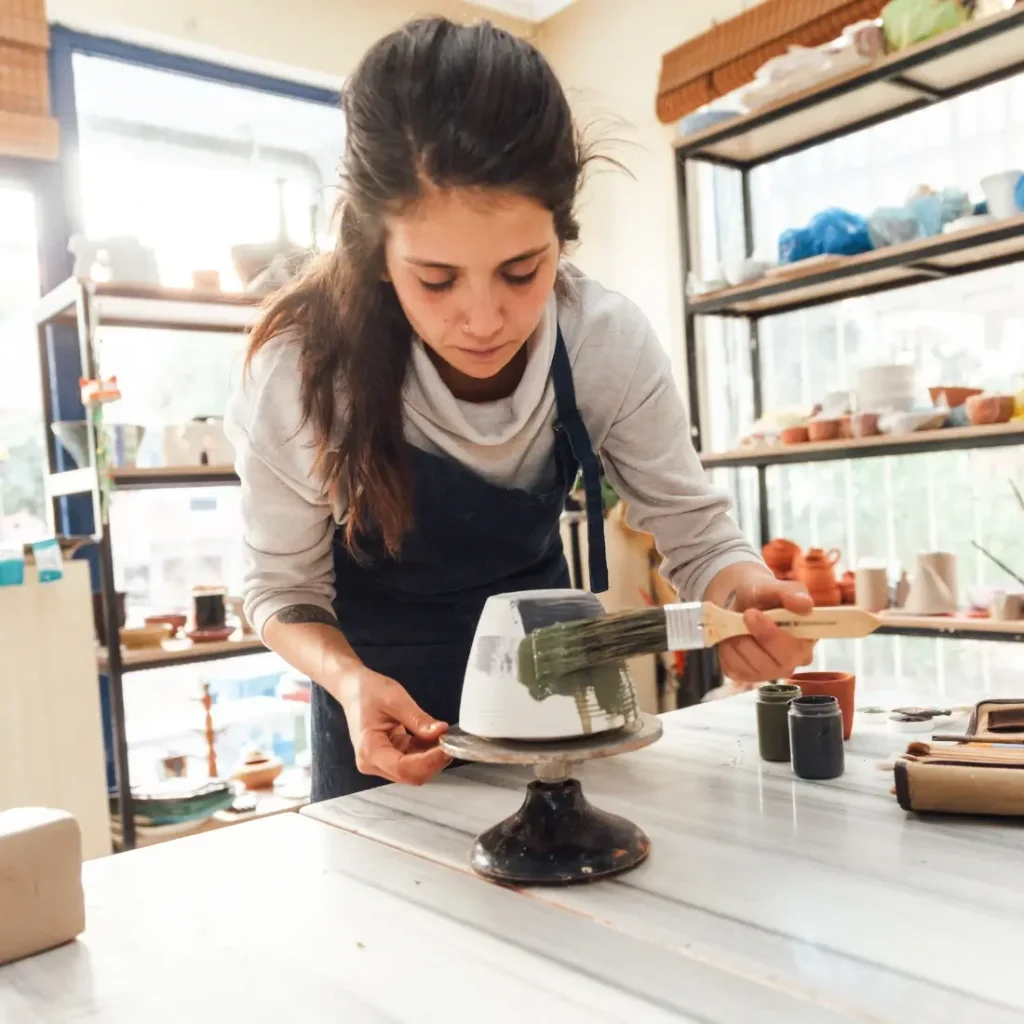
- Apply to Bisque-fired Pottery: Underglazes are typically applied to pieces that have already been bisque-fired. Use fine brushes for detailed work or sponges for broader coverage.
- Multiple Layers: For more vibrant colors, apply multiple thin layers, allowing each to dry before adding the next.
- Glaze and Fire: After the underglaze is dry, apply a clear or transparent glaze over the piece, then fire it in the kiln to achieve a glossy finish.
By understanding and mastering these application techniques, you can create unique and beautiful ceramic pieces. Up next, we will explore the advantages and disadvantages of using color slips and underglazes.
Advantages and Disadvantages of Using Decorative Slips
When considering colored slips for your pottery projects, it’s important to weigh the pros and cons to make informed decisions:
Advantages
- Versatile Decoration: Colored slips can be applied to wet or leather-hard clay, allowing for a wide range of decorative techniques.
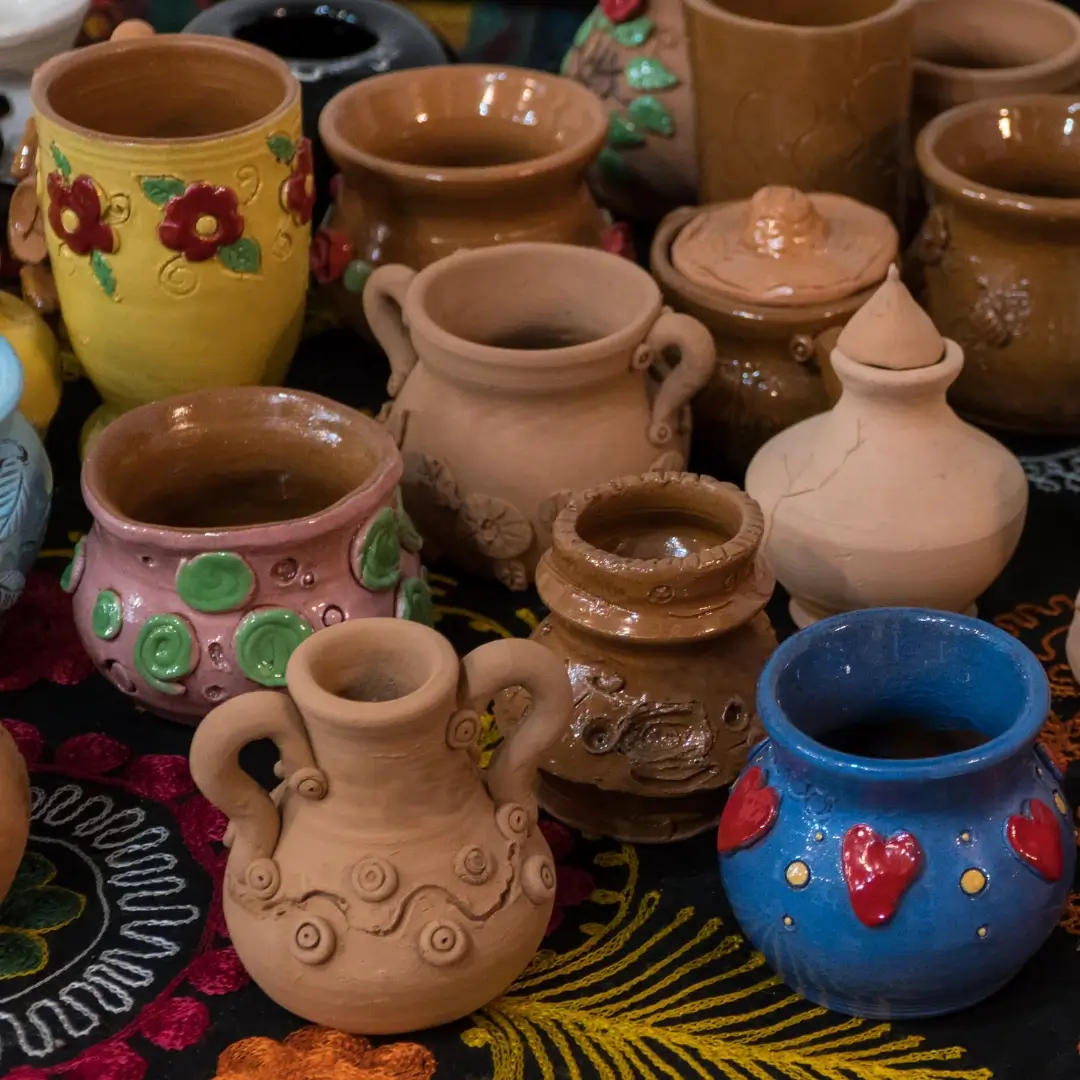
- Texture and Design: They provide an opportunity to add texture and intricate designs directly onto the clay surface before firing.
- Cost-Effective: Colored slips are typically made from natural clay and colorants, making them a budget-friendly option for many potters.
- Raw Aesthetic: The finish of colored slips offers a more natural, matte look, which can be desirable for certain artistic styles.
Disadvantages
- Durability Issues: Without a top glaze, colored slips can be less durable and prone to wear over time.
- Limited Color Intensity: The colors achieved with colored slips are often less vibrant compared to underglazes.
- Application Limitations: Since they need to be applied to wet or leather-hard clay, there is less flexibility in timing and layering compared to underglazes.
By understanding these advantages and disadvantages, you can better decide when to use colored slips in your work. Up next, we will discuss the pros and cons of using underglazes, offering further insights into the debate of Colored Slip vs Underglaze.
Advantages and Disadvantages of Using Underglazes
Exploring the advantages and disadvantages of underglazes will help you make informed decisions for your pottery projects. Here are the primary points to consider:
Advantages
- Vibrant Colors: Underglazes produce more intense and vibrant colors compared to colored slips, making your pieces stand out.
- Application Flexibility: They can be applied to bisque-fired pottery, allowing for detailed and precise work after the initial firing.
- Durability: When sealed with a clear or transparent glaze, underglazes offer enhanced durability and resistance to wear.
- Layering Possibilities: You can apply multiple layers of underglaze for richer, more complex designs without risking runs or smudges.
- Consistent Results: Underglazes generally offer more consistent results in terms of color and finish, especially under a clear glaze.
Disadvantages
- Higher Cost: Underglazes can be more expensive than colored slips due to the inclusion of frits and other specialized components.
- Requires Glazing: To achieve the best finish and durability, a top glaze is often necessary, adding an extra step in the process.
- Preparation Time: Properly preparing and applying underglazes can be more time-consuming compared to slips, requiring multiple firings for optimal results.
By understanding these advantages and disadvantages, you can better determine which technique works best for your artistic goals. Next, we will dive into the best practices for combining colored slips and underglazes to maximize their potential in your creations.

Best Practices for Combining Color Slips and Underglazes
By effectively combining slip colors and underglazes, you can create pottery pieces with rich textures and vibrant colors. Here are some best practices to follow:
Plan Your Design
- Sketch Your Ideas: Before starting, sketch your design on paper. This helps you visualize how the colored slip and underglaze will interact.
- Test Colors: Create test tiles for both slips and underglazes to see how they will look after firing. This minimizes surprises and ensures a harmonious final piece.
Layering Techniques
- Base Layer: Apply the colored slip as your base layer on wet or leather-hard clay. This will provide a rich, textured foundation.
- Detail with Underglazes: Once the piece is bisque-fired, use underglazes for detailed work. This adds depth and vibrant color over the slip.
Timing Your Applications
- Sequential Firing: Apply the slip, let it dry, and bisque-fire the piece before adding underglazes. This ensures each layer is stable before adding the next.
- Proper Drying: Allow each layer to dry completely to avoid smudging or bleeding of colors.
Sealing the Work
Finish your piece with a clear or transparent glaze to protect both the colored slip and underglaze layers. This not only enhances the durability but also brings out the vibrancy of the colors.
These best practices will help you create stunning ceramics that leverage the strengths of both materials. Stay tuned for creative techniques to apply these methods in unique and inspiring ways.
Creative Techniques with Tinted Slips and Underglazes
Combining colored slips and underglazes opens up a world of creative possibilities for your pottery. Here are some techniques to inspire your next project:
Slip Trailing
Use a squeeze bottle to apply tinted slips in intricate patterns and designs. This method allows for raised, textured surfaces that add depth to your piece. After bisque firing, enhance these designs with contrasting underglaze colors.
Layered Textures
Start with a base layer of colored slip, then add texture using tools like combs, brushes, or even household items like forks. Once bisque-fired, use underglazes to highlight and bring out these textures, adding a new dimension to your work.
Stenciling and Masking
Create stencils from paper or other materials to mask certain areas of your wet clay. Apply tinted slips over the stencil, let it dry, and then remove the stencil to reveal the design. After the first firing, you can use underglazes to add additional details and color variations.
Gradient Effects
Achieve a gradient effect by blending two or more together on your piece. This can be done by sponging or brushing the slips in overlapping layers. Once bisque-fired, you can enhance the gradient with complementary underglaze colors.
Sgraffito
Apply a layer of colored slip to leather-hard clay and let it partially dry. Carve through the slip to reveal the clay underneath, creating intricate designs. After bisque firing, you can fill in these carved areas with underglaze for added contrast and detail.
These creative techniques are just the beginning. Experimenting with slips and underglazes can lead to unique and inspiring results in your pottery projects. In the next section, we will address some of the most frequently asked questions about using these materials, helping you refine your skills even further.
Frequently Asked Questions About Colored Slips and Underglazes
As you dive into working with colored slips and underglazes, you might have some questions. Here are answers to some frequently asked questions to help you along the way:
Can I mix colored slips and underglazes?
Yes, you can mix colored slips and underglazes to achieve unique color and texture effects. However, ensure that the chemical composition of both materials is compatible to avoid issues during firing.
Do I need to bisque-fire my pottery before applying underglazes?
Typically, underglazes are applied to bisque-fired pottery. This allows for better control and precision. However, some underglazes can also be applied to leather-hard clay, depending on the desired effect.
How do I prevent my colored slip from cracking?
To prevent cracking, ensure that your colored slip has a proper consistency—not too thick or too thin. Also, apply it to evenly moist clay and dry your piece slowly and evenly before firing.
What is the best way to apply multiple layers of underglazes?
Apply thin, even layers of underglaze, allowing each layer to dry completely before adding the next. This prevents smudging and ensures vibrant, consistent colors.
Can I apply glaze over colored slip and underglaze?
Yes, applying a clear or transparent glaze over colored slip and underglaze will protect and enhance your designs. It adds durability and makes colors more vivid.
Are colored slips and underglazes food safe?
Both can be food safe if properly formulated and fired to the appropriate temperature. Always use materials labeled as food safe and ensure that a food-safe glaze coats the surfaces of functional ware.
These frequently asked questions provide a basic understanding to help you navigate your projects. By combining the knowledge and techniques shared in this article, you’ll be well-equipped to create stunning, durable pottery pieces. Experiment and enjoy the process!

