Brush glazing pottery: techniques, tips, and recommendations
Brush glazing pottery is a technique that involves applying glaze to ceramic pieces using a brush, allowing for precise control and creative expression. This method stands out for its versatility, enabling artists to achieve both intricate details and smooth, even coats.
- What is brush glazing in pottery?
- Essential tools and materials for brush glazing
- Step-by-step guide to brush glazing pottery
- Common mistakes and how to avoid them
- How to achieve different effects with brush glazing
- Tips and tricks for smooth and even application
- Troubleshooting streaks and uneven glaze
- Comparing brush glazing to other glazing methods
- Selecting the best brushes for your projects
- Maintenance and care for your glaze brushes
What is brush glazing in pottery?
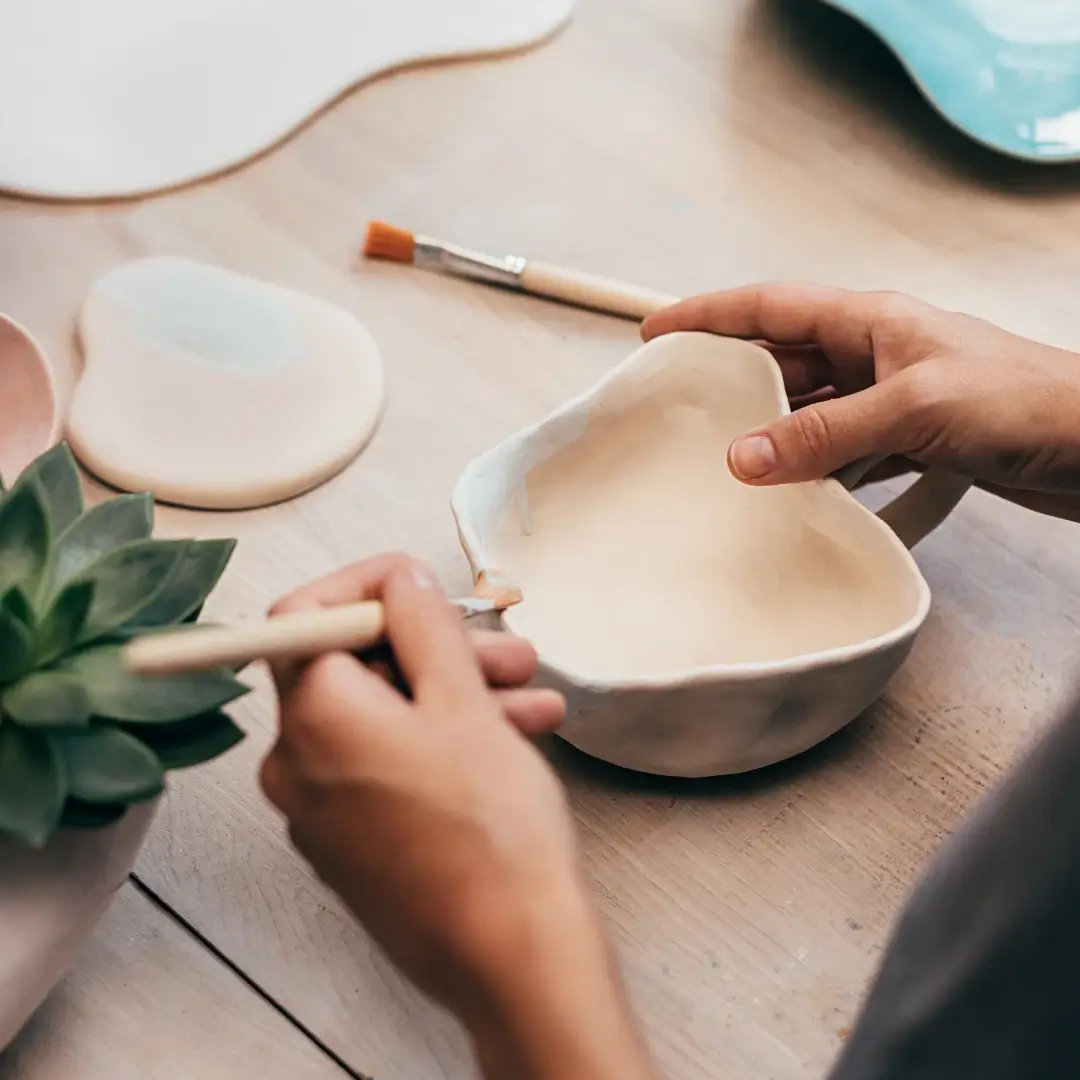
Brush glazing in pottery is a technique where glaze is applied to ceramic pieces using a brush, providing artists with a high level of control and precision. Unlike dipping or spraying, which can produce uniform but less detailed finishes, brush glazing allows for the creation of intricate designs and textures.
This method is particularly valued for its versatility, enabling potters to experiment with various application styles and achieve unique visual effects. As you explore further in this article, you’ll learn about the tools and materials required, as well as detailed steps to master this technique.
Essential tools and materials for brush glazing
To excel in brush glazing pottery, having the right tools and materials is crucial. Here’s a rundown of what you need to get started:
- Quality brushes: Soft-bristled brushes are essential for smooth application. Opt for brushes designed specifically for pottery to avoid streaks and achieve even coverage.
- Glazes: Use glazes that are formulated for brushing. These glazes are usually thicker and easier to control, making them ideal for detailed work.
- Pallets or containers: Use pallets or small containers to hold your glazes. This allows you to mix and dilute them as needed for various effects.
- Sponges and water: Keep sponges and water containers handy for cleaning brushes and correcting mistakes. A damp sponge can help smooth out any inconsistencies in the glaze.
- Mats or work surfaces: A stable work surface covered with a mat will protect your work area and make cleanup easier.
- Protective gear: Wearing an apron and gloves can protect your clothing and hands from glaze spills and splatters.
Equipping yourself with these essential tools and materials will set you up for success in brush glazing pottery. As you gather your supplies, keep reading for a step-by-step guide that will take you through the entire brush glazing process.
Step-by-step guide to brush glazing pottery
Brush glazing pottery can be an incredibly rewarding process when done correctly. Follow these steps to ensure a smooth and even glaze application:
- Prepare your workspace: Ensure that your work area is clean and organized. Lay down mats or protective sheets to make cleanup easier.
- Mix your glaze: Stir your glaze thoroughly to achieve a consistent texture. If necessary, dilute it with a little water to reach the desired consistency.
- Clean your pottery: Before applying the glaze, make sure your pottery piece is free of dust and debris. Use a damp sponge to wipe it down if needed.
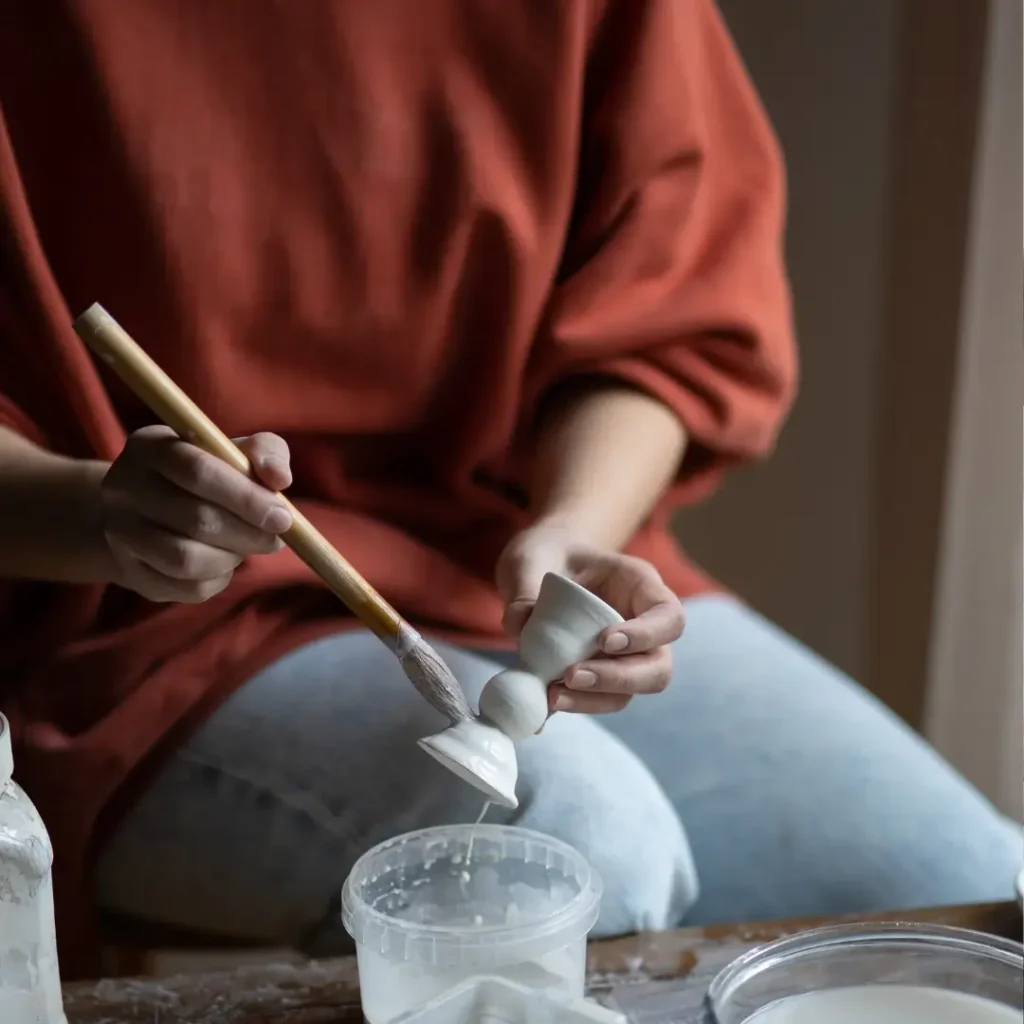
- Load your brush: Dip your brush into the glaze, allowing it to absorb just enough without becoming too saturated. Lightly tap off any excess glaze on the side of the container.
- Apply the glaze: Start brushing the glaze onto your pottery in smooth, even strokes. It’s best to use long, continuous motions to avoid streaks and overlap lines.
- Layer as needed: Depending on the desired opacity, you might need to apply several coats. Allow each coat to dry completely before adding another layer.
- Touch up: Inspect your piece for any missed spots or inconsistencies. Use a smaller brush to touch up these areas carefully.
- Clean your tools: Once you’ve finished glazing, clean your brushes and other tools promptly to keep them in good condition.
By following this step-by-step guide, you’ll be able to achieve a professional-looking glaze on your pottery pieces. In the next section, we’ll cover common mistakes and how to avoid them to ensure your projects turn out beautifully.
Common mistakes and how to avoid them
Even experienced potters can run into issues with brush glazing pottery. Recognizing and avoiding common mistakes can significantly improve your results. Here are some pitfalls to watch out for and ways to avoid them:
- Overloading the brush: Applying too much glaze at once can cause drips and uneven coverage. To prevent this, dip your brush lightly and tap off any excess glaze before application.
- Inconsistent strokes: Uneven or haphazard brush strokes can lead to streaks and patches. Use smooth, consistent motions and maintain a steady hand to achieve an even coat.
- Skipping drying times: Applying subsequent layers before the previous one has dried can result in a cakey or uneven finish. Allow sufficient drying time between coats.
- Using the wrong brushes: Brushes that are too stiff or not designed for glazing can leave undesirable marks. Choose soft-bristled brushes specifically made for glazing.
- Neglecting preparation: Dirty or dusty pottery surfaces can interfere with glaze adherence. Clean your pieces thoroughly before starting the glazing process.
By being mindful of these common mistakes and applying the corresponding solutions, you’ll be able to achieve a more professional and pleasing finish on your pottery pieces. As we continue, you’ll learn how to create various effects with brush glazing to enhance your work.
How to achieve different effects with brush glazing
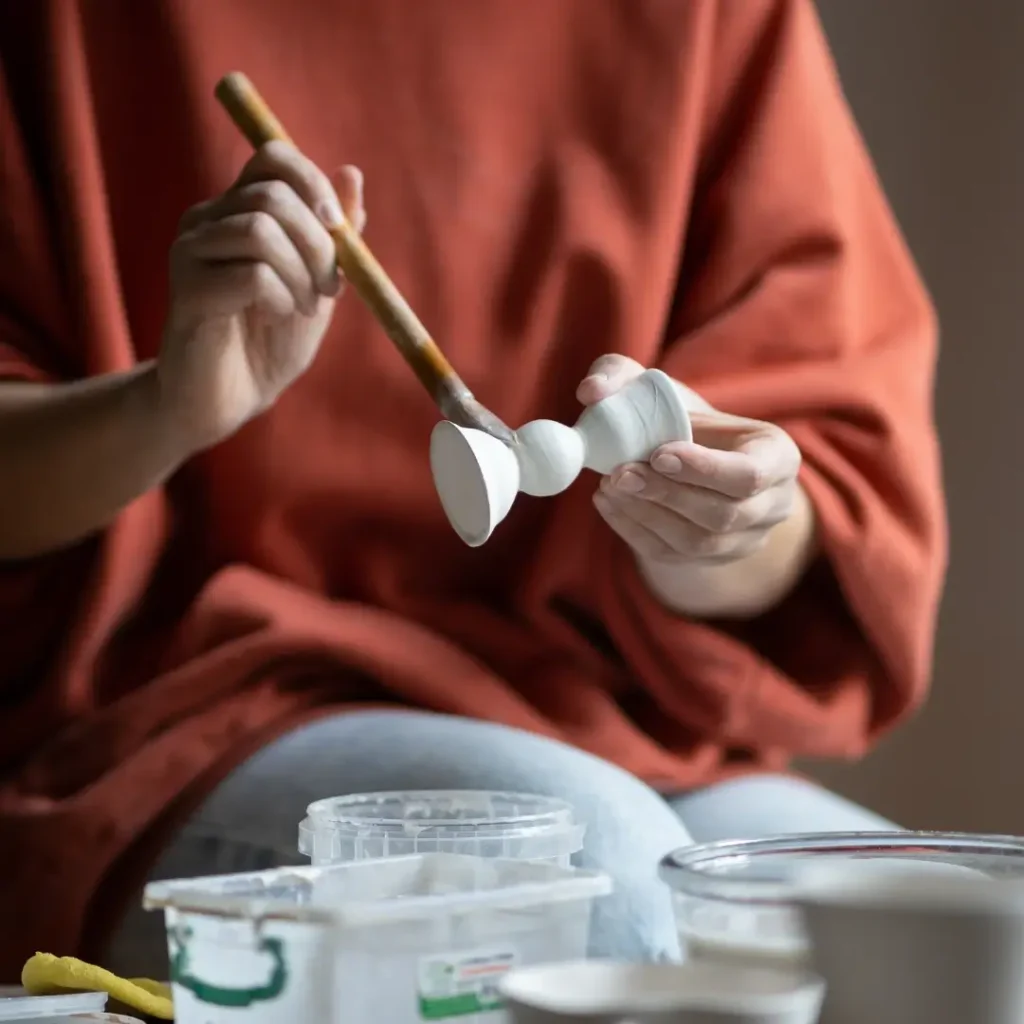
One of the exciting aspects of brush glazing pottery is the ability to create a variety of visual effects, from smooth finishes to intricate patterns. Here are some techniques to help you achieve different effects with brush glazing:
- Layering glazes: Applying multiple layers of glazes can create depth and richness in color. Allow each layer to dry completely before adding the next to avoid blending.
- Dry brushing: Use a nearly dry brush to apply the glaze, resulting in a textured, almost antique appearance. This technique is perfect for adding subtle highlights and depth.
- Feathering: Lightly drag the tip of your brush through wet glaze to create feathered edges and smooth transitions between colors. This works well for gradient effects.
- Sponging: Use a sponge to dab glaze onto your pottery, creating a stippled or mottled effect. This method is excellent for adding texture and visual interest.
- Wax resist: Apply wax to areas of your pottery before glazing to create patterns and prevent glaze from adhering to those parts. This technique is great for intricate designs.
- Glaze trailing: Use a fine-tipped applicator or brush to trail thin lines of glaze on your piece. This can be used to add detailed patterns or raised textures.
Experimenting with these techniques can add unique touches to your brush glazing pottery projects. As you try out different methods, you’ll discover your own style and preferences. Next, we’ll cover tips and tricks for achieving a smooth and even application to ensure your pottery looks its best.
Tips and tricks for smooth and even application
A smooth and even application is key to achieving professional-looking results in brush glazing pottery. Here are some tips and tricks to help you master this technique:
- Use high-quality brushes: Soft-bristled brushes designed for glazing will help ensure a smooth application. Avoid brushes that are too stiff or worn out.
- Maintain the right glaze consistency: Your glaze should have the consistency of heavy cream. If it’s too thick, it will be difficult to apply evenly. If it’s too thin, it may run or drip.
- Apply in thin layers: Multiple thin coats are better than one thick layer. Each coat should be allowed to dry completely before applying the next to prevent streaks and unevenness.
- Brush in one direction: Apply the glaze using long, consistent strokes in one direction. This helps to avoid overlapping and creates a more uniform finish.
- Keep your brush clean: Rinse your brush frequently during the glazing process to prevent glaze buildup and streaks. A clean brush is essential for a smooth application.
- Work in a dust-free environment: Even small particles of dust can ruin the smoothness of your glaze. Ensure your workspace is clean to maintain a flawless finish.
By following these tips, you’ll achieve a smooth and even glaze on your pottery pieces. Next, we’ll address troubleshooting common issues like streaks and uneven glaze to help you refine your technique further.
Troubleshooting streaks and uneven glaze
Streaks and uneven glaze can be frustrating issues in brush glazing pottery, but they can often be corrected with some thoughtful adjustments. Here are several common problems and their solutions:
- Inconsistent brush strokes: Irregular or overlapping strokes can cause streaks. To fix this, practice using smooth, consistent strokes and maintain a steady hand. Make sure to keep the brush moving evenly across the surface.
- Improper glaze consistency: A glaze that is too thick or too thin can lead to uneven coverage. Ensure your glaze is well-mixed to a creamy consistency. If necessary, thin it with a bit of water for better application.
- Skipping drying times: Applying additional layers before the previous one has fully dried can result in a streaky or cakey finish. Allow each coat to dry thoroughly before adding another layer.
- Dirty brushes: Residue on your brush can affect glaze application, causing streaks or lumps. Clean your brushes regularly during the glazing process to maintain smooth, even strokes.
- Environmental factors: Humidity and temperature can impact glaze drying time and consistency. Make necessary adjustments to your workspace, such as using dehumidifiers or working in a controlled environment, to minimize these issues.
By identifying and addressing these potential problems, you can significantly improve the quality of your glaze application. For additional tips on comparing brush glazing to other methods, continue to the next section.
Comparing brush glazing to other glazing methods
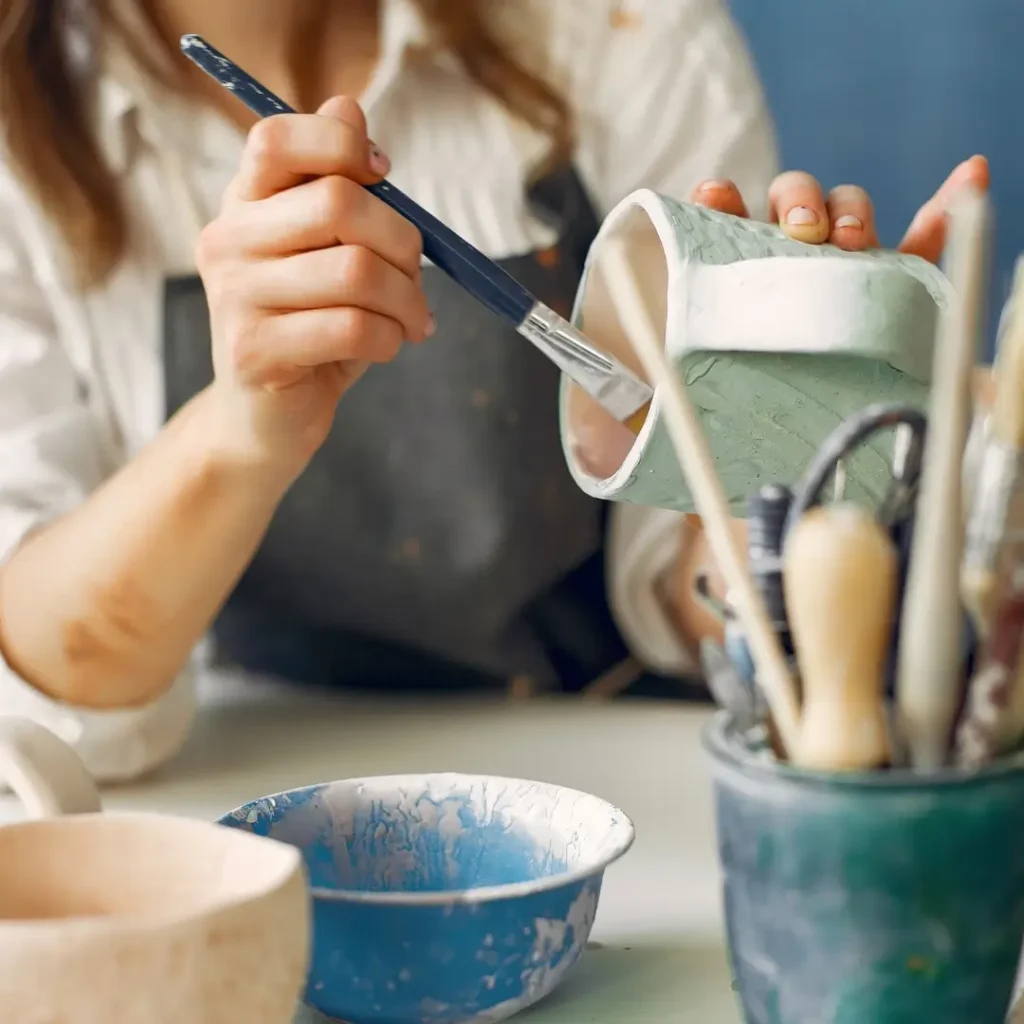
Brush glazing pottery offers a unique set of benefits compared to other glazing methods. Understanding these differences can help you choose the right technique for your specific project needs:
- Brush glazing vs. dipping: Dipping involves submerging the entire pottery piece in a vat of glaze. While this method provides a fast and uniform application, it can lack detail and control. Brush glazing, on the other hand, allows for precise application and is ideal for intricate designs and small areas.
- Brush glazing vs. spraying: Spraying glaze onto pottery can create smooth, even coats and is efficient for larger pieces. However, spraying requires specialized equipment and can result in overspray. Brush glazing provides more control and flexibility, making it suitable for both small and large projects.
- Brush glazing vs. pouring: Pouring involves pouring glaze over the pottery to coat it. This technique can achieve rich, thick layers and fluid designs but may lack the finesse that brush glazing offers. Brush glazing allows for detailed, intentional strokes and varied textures.
- Flexibility and creativity: Brush glazing stands out for its versatility and creative potential. Artists can experiment with different brush sizes, glaze consistencies, and application techniques to achieve unique finishes that would be challenging with other methods.
Each glazing method has its own advantages and is suited for different types of projects. Brush glazing is particularly beneficial for artists seeking detailed control and expressive possibilities. For more information on selecting the best brushes for your particular needs, continue reading the next section.
Selecting the best brushes for your projects
Choosing the right brushes is crucial for achieving the best results in brush glazing pottery. Here are important factors to consider when selecting brushes for your projects:
- Bristle type: Opt for soft-bristled brushes made from natural or high-quality synthetic fibers. These brushes provide smooth application without leaving marks or streaks.
- Brush size: Having a range of brush sizes is essential. Small detail brushes are perfect for intricate designs, while larger flat brushes can cover broader areas efficiently.
- Brush shape: Different shapes serve various purposes. Flat brushes are ideal for even coats, round brushes are great for detailed work, and fan brushes can create unique textures and blending effects.
- Handle length: Consider the handle length based on your comfort and control preferences. Short-handled brushes offer precision, while long-handled brushes can provide better leverage for larger pieces.
- Durability: Invest in brushes designed specifically for glazing. These are built to withstand the wear and tear of working with ceramic glazes, ensuring longevity and reliable performance.
By selecting the best brushes tailored to your specific needs, you’ll enhance the quality of your brush glazing pottery projects. Next, we’ll discuss how to properly maintain and care for your brushes to keep them in top condition.
Maintenance and care for your glaze brushes
Proper maintenance and care for your glaze brushes are essential to ensure their longevity and performance in brush glazing pottery. Here are some key tips to keep your brushes in top condition:
- Clean immediately after use: Rinse your brushes thoroughly with warm water right after glazing. This prevents the glaze from hardening on the bristles and makes cleaning easier.
- Use gentle soap: For a deeper clean, use a mild soap or brush cleaner. Work the soap into the bristles and rinse until the water runs clear, ensuring no glaze residue remains.
- Shape and dry properly: After cleaning, gently squeeze out excess water and reshape the bristles. Lay the brushes flat or hang them bristle-side down to dry, preventing moisture from damaging the handle.
- Avoid harsh chemicals: Refrain from using harsh solvents or chemicals to clean your brushes, as they can weaken the bristles and shorten the brush’s lifespan.
- Store brushes correctly: Store your brushes upright or in a brush holder to maintain their shape. Keep them in a dry, dust-free environment to protect the bristles from dirt and damage.
- Regular maintenance: Periodically inspect your brushes for wear and tear. Trim any stray bristles and replace brushes that show significant signs of damage to ensure consistent application.
By following these maintenance tips, you’ll extend the life of your glaze brushes and maintain their effectiveness for future projects. Investing time in proper care will enhance your brush glazing pottery experience, ensuring you always have the right tools ready for your creative work.

